We all know data view web part. Data view web part has a feature called conditional formatting. We can format the column of the view based on some condition.
We even can show or hide the data in column based on condition. Another point to note is condition need not be the same field on which you would like to apply conditional formatting.
I have created one sample list for demonstrating this feature. I have one simple list which has Item Code, Year and Month and Qty Ordered.

And we will make our conditional formatting on Qty Ordered based on some criteria.
Create one full vertical web part page and name it QtyOrdered.aspx.
Now open SharePoint Designer 2007 and open the site. Open the QtyOrdered.aspx page in designer.
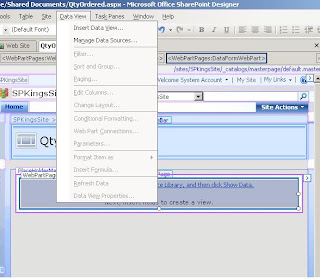
In Click to insert a web part keep your cursor and then click on Insert data view under Data View menu.
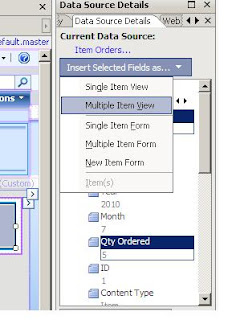
Click on Item Orders (List Name) and then Show Data. By holding the Ctrl Key, click on Item Code and Qty Ordered Column and then click on Insert select field as and then click multiple item view.
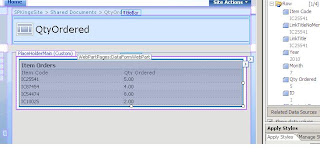
And you will have something like this
Now open the Images folder, I have three images in it. If you do not have any images with you, then download some good images or look in to 12 hives images folder and drag images to this images folder in SharePoint Designer.
Drag green.gif after Qty Order column value 5. And then provide alternate text as green arrow when asked.
Do the same for red.gif. Drag it to the side of green.gif and do the same, provide alternate text and click OK.
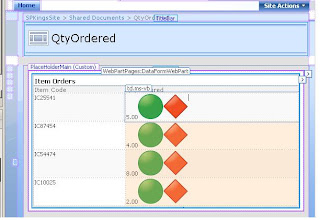
Right click red arrow and then click on conditional formatting. Click create (On right side top), Hide content. Observe that you can apply hiding, showing and formatting here. We want to hide on some criteria. We will create condition that if Qty Ordered is greater than 5, then show green else show red.
Apply following condition over red arrow.
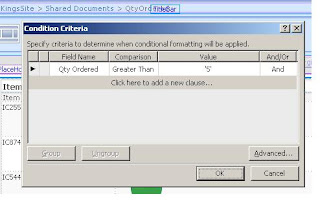
Do the same for Green Arrow, but this time with the reverse criteria.
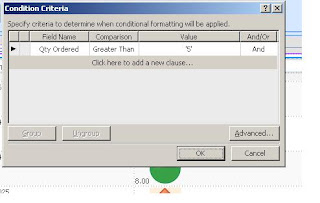
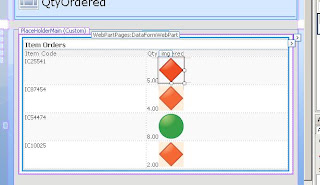
After you do this, you can see the effect of the conditions that we just defined.
Save the page, open your site; navigate to the library where you created the web part page. Click on that page and there you go. See the result.
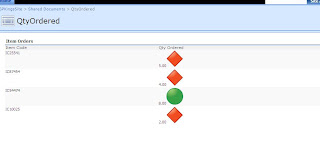
You can change the value, insert new data and see the result changing accordingly.


1 comment:
Great post! thaks alot! why we ever need EE feature like dashboard? :)
Post a Comment