


In this post we are going to see how we can make multi
selection list box in InfoPath required field. Now you must be thinking what is
the big deal here?
We are going to have one sample list with a look up field
which is multi select.

Let's add one item and try without adding any city. Remember
this is the list form and not the InfoPath.
Great, this has work perfect.

So let's customize this list in InfoPath. Click customize
button from the ribbon.

So now InfoPath has converted the multi select lookup to the
multi select list box where you will have checkboxes to select.

Publish the form and click on New now.

Seems okay so far. you can see red asterisk sign which
indicates its required field. Let us not selected anything just the title and
try to see if it saves the item.

so far so good. Let's select items from the city and save
the list item. we should be good to go.

Well this is what I was mentioning. You simply cannot submit
even though you have selected the items. Even though red asterisk sign goes
away but still no luck.
So we are now going to solve this. First you need to remove
the required field from the list to make this a required field. We will have to
handle the required field from InfoPath and not from the list field. In
InfoPath we have to handle multi select lookup like this.
So I have removed the required validation from city field
and republish the form.

as you can see now because required field is removed, the
asterisk sign is gone.
Go back to the design InfoPath page. add textbox below the
list box control. We are going to add validation for the list box.

Click on manage rules by keeping the selection on text box.
Click on add validation.

Click on condition and then select field drop down, from
there select field or group.

Now click on show advanced view. Select value inside the
City group and then from drop down select number of occurrences.

UPDATE : USE CONDITION ALL OCCURRENCES ARE BLANK AND NOT NO OF OCCURRENCES <=1. THIS WILL RESOLVE THE ISSUE.
and then less than equal to 1


Right click the textbox and then select property. Set the
default text.

Now publish the form. and click on new.

It indicates the required field by red dotted. You can check
that by entering title and not selecting any value from the list and then click
on save.

As you can see when you select value, the red dotted line
goes away which indicates that the condition has been satisfied.

There you go. you now have a required field multi select
list box in InfoPath.
UPDATE : The above method will help you when you want to make multi select list box required based on other values / other controls.
However if you want to make it just the required field, then make the following change.
Go to the list settings. go to city field and make it a required field.
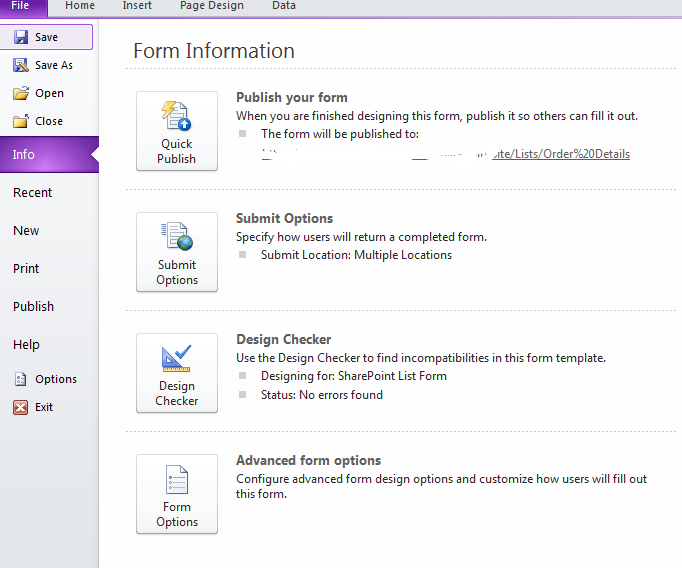
Customize the form in InfoPath. Go to the file - form options.

then advanced - edit default values - expand the city node and uncheck the value checkbox.UPDATE : The above method will help you when you want to make multi select list box required based on other values / other controls.
However if you want to make it just the required field, then make the following change.
Go to the list settings. go to city field and make it a required field.
Customize the form in InfoPath. Go to the file - form options.

Now publish the form and you should be good to go.
What happens here is when we add the multi-select list box, InfoPath adds one blank node always in the XML DOM.
so when the field is required, you ideally cannot submit blank value. because one node is blank, InfoPath cannot submit the form and hence we see the message despite of selecting value(s) from the list box.

No comments:
Post a Comment