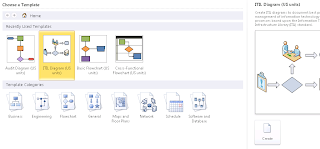
Open Visio 2010 and click on create Diagram. I am selecting ITL diagram. It can be simply any diagram based on the requirement that you have.
Now create a diagram which is something like this.
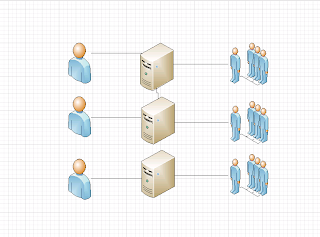
Here I have shown that administrators handle the servers. So I have shown who handles which server and server belongs to which department.
Now as of now this is a static diagram for three administrators but it has not got the data connectivity. So let us go ahead and add the data connectivity to this.
Go to Data tab and click on Link Data Shape.
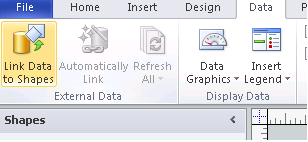
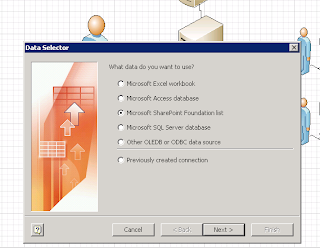
We will link each shape with its value from the data source and to describe how we can connect to data source, I will use SharePoint List to connect these shapes.
So go ahead and choose the SharePoint Foundation List as an option. Here as you can see you can connect with different sources. The advantage is in a single diagram we can have multiple data sources as well. That means one shape can have data representing from SharePoint list and at the same time one shape can represent a data from SQL Server database table.
We just need to make sure that the user under whose privilege this Visio diagram will render at the end should have appropriate permission for the data source that you use in diagram.
I have one list ready with me in my team site.

I am going to connect to this list for these shapes.
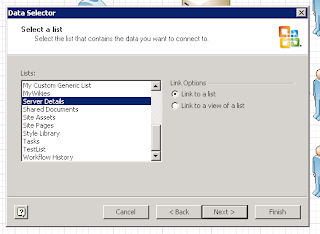
Once you are done connecting this list with diagram, you get something like this.
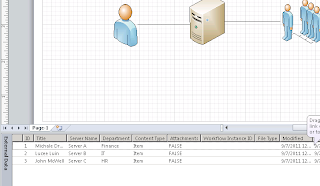
Now is the time to link each shape with respective data from the list. Associate each Title with each person drawing, each server with each server drawing and each department with each department item from list by dragging data on object. At the end you get something like this.
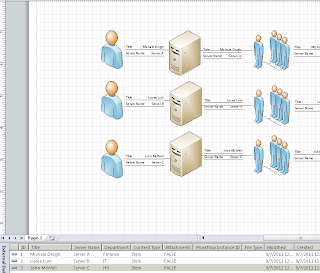
However, as you can see Title and Server name appears on every object. We only want respective details to show up. So click on each object and modify the properties.
Right click on image, Data and then Edit Data Graphic.
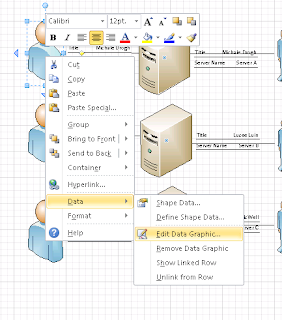
As you can see it displays two data. One is Title and the other is server name. We can here delete the field that we do not like to show and we can add fields that we would like to show. So go ahead and remove server from each person object.
Same way go ahead and remove Person field and server field from server, add server field and same way remove person field and server field from department figures and add department field to them.
Alternatively you can select all similar object by clicking Ctrl key and selecting each object and then in one go you can change properties.
Once you are done with the object changes, it should appear something like this.
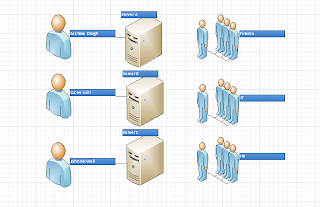
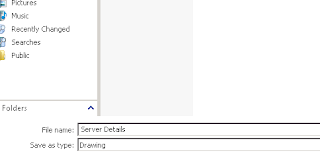
As of now we have placed shapes on diagram and bind them with SharePoint List as data source. If you now want to keep it as a client Visio diagram then save it as a drawing.
Let’s no go ahead, open our list and update the data. Let Michael handle Server C and John handle Server A. go ahead and update those details.

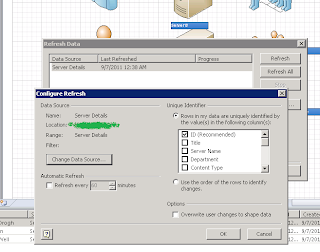
Now open the drawing Visio diagram that we just created while ago. Click on Refresh, it will show the progress of update.
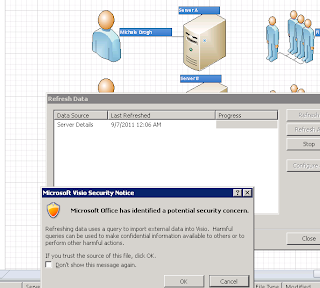
And see the change.
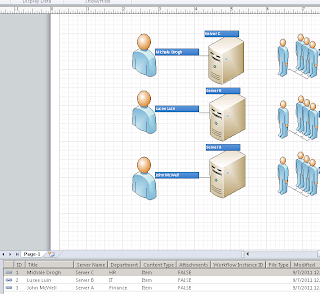
In this post, I have shown you how to connect to SharePoint list and based on the list update how to update drawing on the Visio diagram.
You can also configure the time when data should be automatically refreshed in the diagram.
Keep reading Visio Services Part-3 for further reading.


No comments:
Post a Comment