


Working with declarative workflows Part 1 was all about understanding the basics of declarative workflow. In this post, we will make our basics bit more strong by doing one more practical and almost the same stuff, but with little change.
Take the same example that we took in last Part 1. However before continuing further, let us explore one option that comes handy with workflow. Open “C:\Program Files\Microsoft SDKs\Windows\v6.0A\bin” folder. It may differ from OS to OS. So just make sure that you are under bin folder of Windows.
And observe one exe named “WFC.exe”. This is the command utility that will convert our declarative XML into DLL.

But hey why again DLL? So the answer is DLL execution is faster than XML execution. So you can also try this option after creating your workflow with declarative manner.
One other important note to understand is that when we will convert our declarative XML workflow using this utility, it will not work directly because this utility requires file which has xoml extension. So go ahead and open the declarativeworkflow.xml and rename it to declarativeworkflow.xoml.
Also observe one more change in declarativeworkflow.xoml this time. We need to add one more attribute and that is Class attribute. This is required because after compiling into the assembly, workflow utility will give this name to the generated DLL.
<SequentialWorkflowActivity x:Name = "Workflow1"
xmlns:x="http://schemas.microsoft.com/winfx/2006/xaml"
xmlns="http://schemas.microsoft.com/winfx/2006/xaml/workflow"
x:Class ="DeclarativeWorkflow">
<SequenceActivity x:Name="SequenceActivity1">
<DelayActivity TimeoutDuration="00:00:15" x:Name="DelayActivity1"></DelayActivity>
</SequenceActivity>
</SequentialWorkflowActivity>
Now open the command prompt and navigate to the directory till your project is. Infect navigate to the folder where we have this xoml file sitting.

And then just type in the path for WFC.exe and give our xoml file name as a parameter and hit enter and see the magic. You will see no error and no warning and will get DLL as in output.

Now go ahead and open your console workflow application and add the newly created DLL as reference.
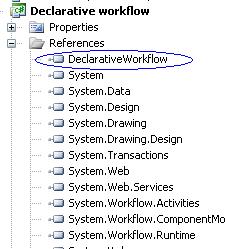
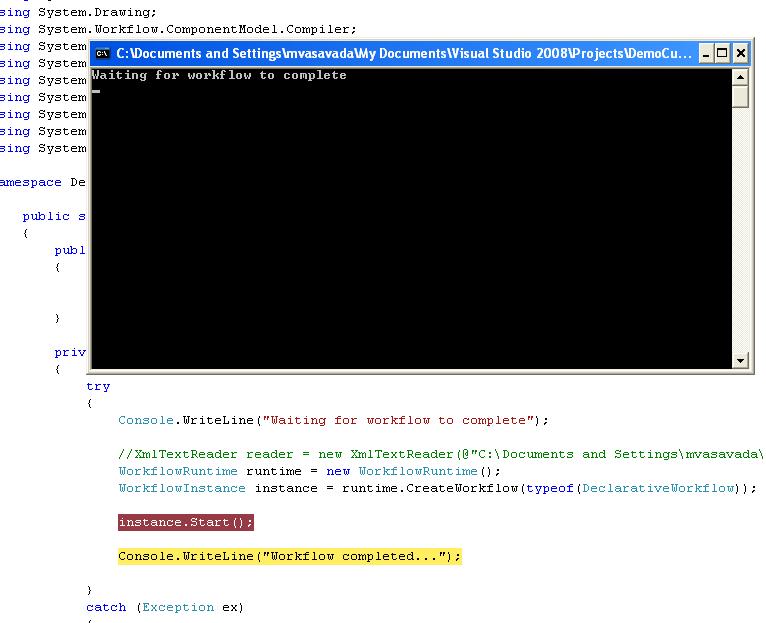
And then run the workflow and see it in action.
Read Working with declarative workflows Part 3 for further reading.
No comments:
Post a Comment