In this post, we are going to see how we can add new ECB options for list items and also see how to add button in existing ribbon tab. These both options are now possible with SharePoint Designer 2010.
Creating ECB menu option in MOSS 2007 requires creating feature targeting edit control block with CustomActions and deploying it on server.
However there is one limitation for adding control in existing ribbon tab. You cannot have JavaScript function, showing message, disabling controls etc. when creating quick step using Designer 2010. These all can be done via
Open your existing site, open let’s say team discussion. As you can see New Quick Step option is available in customize list group.

If you open Tasks list, then
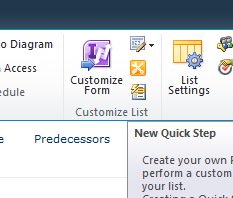
However there is one strange behavior, if you open calendar, you will not see this option. Not sure why? Well, have to look into this. If you know the answer, do post a comment and we will appreciate it.
Let’s go ahead and create one ECB menu option for lists. Open SharePoint Designer 2010. Connect with the site. If you notice, SPD2010 is way different from SPD2007. There are so many differences. SPD2010 looks very clean and clear. It gives very user friendly interface than SPD2007.
Click on Lists and Libraries and choose the list on which you want to create ECB menu item. I have chosen Tasks list.
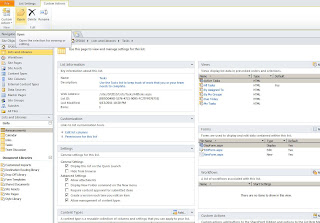
Double click on the Tasks List to make it open on right side panel. Now check out the far end right button, and you will notice custom actions below workflows. We can create workflows and custom actions from here.
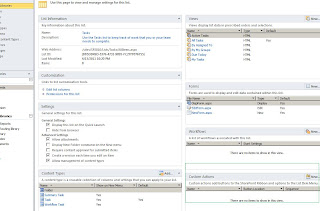
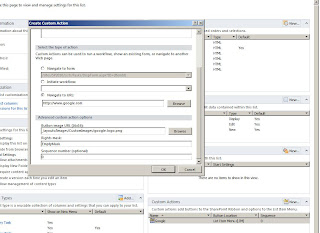
Click on New. Give the name and description. Here you can choose if you have your own page, you can send user to this page with parameters. If you want to initiate any workflow you can do that from here. Or you can also send user to any other url that you wish.
Just to demonstrate i am using Google image and redirecting user to google.com from ECB menu. So mention that URL, use 16 by 16 image of Google, which will be shown to user in the menu item. And finally click on OK. And you are almost done. Remember this image should be in the IMAGES folder under 14 hive. (New structure, not 12 hive like in MOSS 2007)
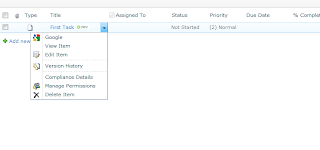
Open the site, go to Tasks list and create any item and see what you have in the menu now. New option Google. Click on it which will take you to google.com
If you want to edit or remove this, you can see options on left top side of SPD2010.


3 comments:
Oh, that is great. I thought this can only be done through features and i was struggling to this. Great man. you guys saved my day.
Is there a part 3? :)
we will glade you like this.
let us know if something you required. we will try to cover as part three.
we are focusing on other features as well... :)
Post a Comment